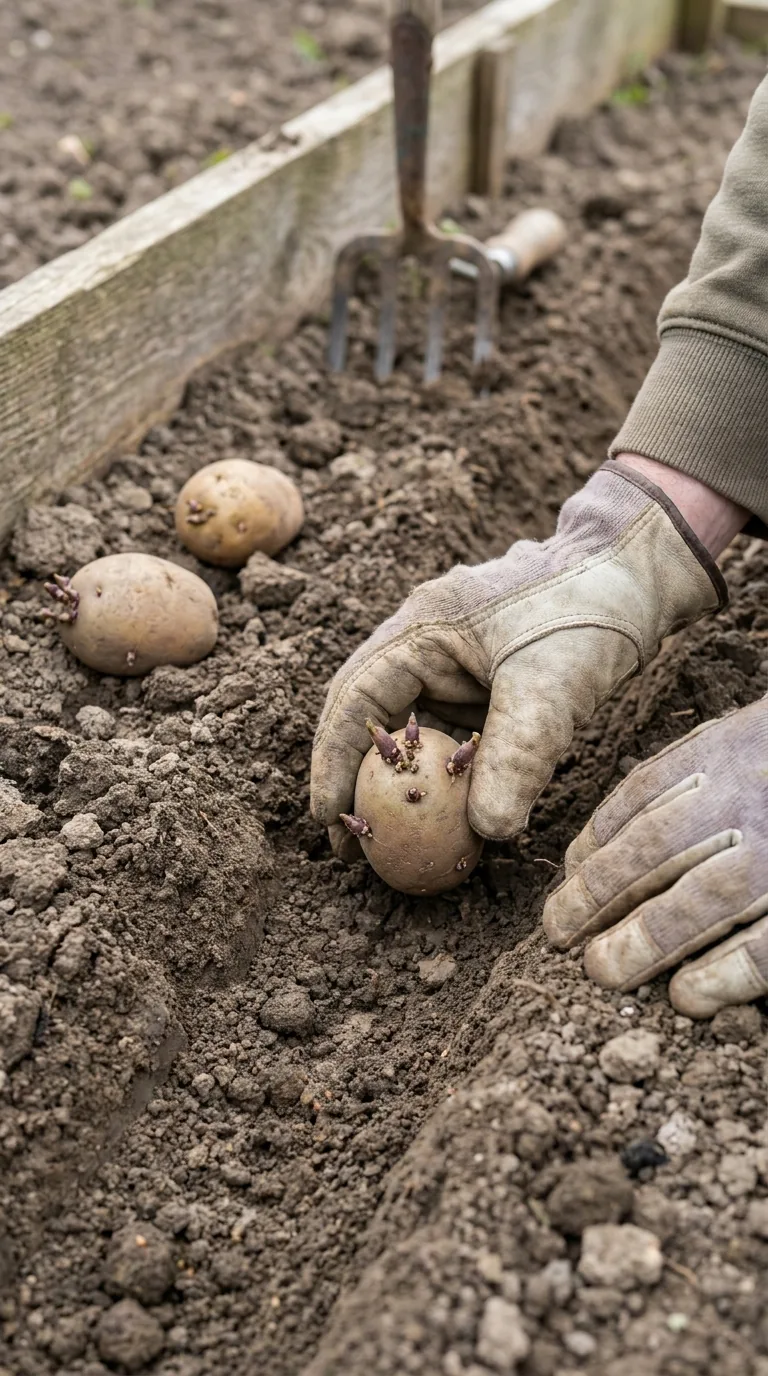
In the UK, potato planting usually begins in spring, but the useful date depends on which crop you want and what your soil is doing. First earlies, second earlies and maincrops do not all go into the ground together. Cold, waterlogged soil can delay establishment, while shoots that emerge during a late frost can be damaged. A calendar is therefore a guide to preparation, not permission to ignore the forecast.
For a first attempt, a short row of first earlies or one generously sized container is a manageable choice. You can harvest a modest fresh crop and learn how the plants respond without setting aside a large bed for months. Maincrops make more sense when you have sufficient growing space and a suitable place to store the harvest.
Understand the three main potato groups
First earlies are grown mainly for young, fresh potatoes and spend the shortest time occupying the bed. Second earlies follow slightly later and provide a useful bridge towards the maincrop season. Maincrops usually remain in the ground longer, producing potatoes intended for larger harvests and, with appropriate varieties and conditions, storage.
These names describe relative development rather than a guaranteed harvest week. Two varieties in the same group may mature differently, and a cold spring can alter the whole sequence. Choose for the way you cook as well: salad potatoes, fluffy roasting potatoes and all-rounders offer different textures. Read the supplier's description instead of assuming every maincrop behaves identically in the kitchen.
| Group | Typical planting guide | Main purpose |
|---|---|---|
| First early | Late March, conditions permitting | Young potatoes for fresh use |
| Second early | Early to mid-April | Summer cropping after first earlies |
| Maincrop | Mid- to late April | Later harvest, often for storage |
In colder or exposed locations, move these windows later until the ground is workable and there is a realistic plan for protecting emerging shoots. In a sheltered southern garden, an earlier start may be possible. Planting into favourable soil a fortnight later can be more productive than planting early into mud.
Use seed potatoes sold for planting
A seed potato is a tuber used to grow a new plant, not a packet of botanical seed. Buy planting stock from a reputable supplier and inspect it before storage. Reject tubers that are wet, collapsing or visibly rotten. A firm tuber with sound skin is a better starting point than a damaged bargain that may introduce problems into your plot.
Supermarket potatoes are an unreliable substitute. Their variety may be unsuitable for your purpose, their health status for planting is unknown, and some may have been treated to delay sprouting. Purchasing named seed potatoes also lets you connect performance with a particular variety when deciding what to grow next year.
Keep labels with the stock. If you have several varieties, separate them into trays rather than relying on memory once they all develop shoots. Note the intended planting group and the bed or container allocated to each batch. This simple organisation prevents planting your storage crop in the small pot intended for a few early potatoes.
Chitting: useful preparation rather than a deadline
Chitting means allowing seed potatoes to develop short shoots before planting. It is commonly used for earlies. Set the tubers in an egg box or shallow tray with the end bearing most eyes uppermost. Keep them somewhere cool, bright and frost free. Avoid a warm dark cupboard, which encourages long pale shoots that are easily snapped.
The aim is compact, sturdy growth, not the longest possible shoot. Check the trays occasionally for decay and avoid disturbing developing sprouts unnecessarily. You do not need to postpone suitable planting conditions indefinitely while waiting for a perfect set of shoots. Maincrops can also be planted without extensive chitting.
If tubers arrive with long fragile growth, handle them carefully rather than repeatedly turning them over. Consider why the storage conditions encouraged that growth and improve the light and temperature for the remaining stock. The condition of the tuber and readiness of the ground are more useful decisions than following an exact number of chitting days.
Check the bed before reaching for a spade
Potatoes need sun and soil that drains freely enough for roots and tubers to develop. Remove perennial weeds thoroughly, because digging around established potato plants later can damage the crop. Incorporate well-rotted organic matter when preparing the bed, or use a suitable surface-mulching approach if you practise no-dig gardening.
Do not work heavy soil when it sticks in thick layers to your boots and tools. Wait until it becomes more workable. Walking repeatedly over a wet bed compacts it, reducing the benefit of preparation. A raised bed can help on some sites, but it still needs a sensible route for excess water and does not cancel a high water table.
Consider previous crops. Avoid returning potatoes to the same soil year after year, and account for tomatoes as related plants when planning rotation. Rotation reduces some recurring risks but cannot guarantee freedom from airborne blight or every soil problem. Keep a simple bed plan rather than trying to reconstruct last year's planting from memory.
Plant at a useful depth and spacing
A conventional approach is to make a trench about 15cm deep, place the tubers with shoots upwards and cover carefully. Individual holes are equally practical for a small number. Avoid pressing hard directly on the sprouts. Water if the soil is dry enough to require it, but do not add unnecessary water to already wet ground.
For earlies, use roughly 30cm between tubers with rows around 60cm apart. Maincrops need more room: approximately 37cm between plants and 75cm between rows is a useful starting point. Follow the variety's own instructions if they differ. The gap between rows also provides space to move and soil for earthing up.
Measure before filling the trench. A short bed can look capable of taking many more tubers than it should, especially while everything is still underground. Crowding makes watering, inspection and lifting harder. It is usually better to plant a few sound tubers at sensible distances than to squeeze every spare potato into the same limited space.
A container method for patios
Choose a container at least 30cm wide and deep, with unobstructed drainage holes. Larger containers are easier to keep evenly moist, but wet compost is heavy, so place the pot where it will stay before filling. Use peat-free multipurpose compost and begin with a layer around 15cm deep.
Set one seed potato in a pot of about 30cm diameter, cover it, and add compost gradually as stems develop. Leave watering room below the rim at the final level. A purpose-made growing sack also works if it drains well and stands securely. Avoid containers that previously held chemicals or substances unsuitable for food growing.
Do not treat a tall bag as a promise of potatoes forming at every height. The result depends on the variety, growing conditions and usable root space. Filling an enormous tower requires substantial compost and water, and may offer a poor return compared with a straightforward large pot. Keep expectations proportionate to the number of plants.
Protect emerging growth from frost
Watch for the first shoots and check the forecast. A tuber beneath the soil has some insulation, but exposed young foliage is vulnerable. Draw loose soil over emerging shoots or cover them with suitable horticultural fleece when frost threatens. Secure coverings so they cannot flap away or rub the plants in wind.
Fleece reduces exposure but cannot make a severe cold spell irrelevant. If you use a cloche or other enclosure, check ventilation during sunny weather and remove protection when it is no longer needed. A covering forgotten for weeks may obstruct growth or create very warm conditions during the day.
If frost blackens the shoots, give the plants time to show whether new growth emerges before discarding them. Damage can delay the crop, and recovery is not guaranteed, but the tuber may still produce replacement shoots. Check moisture and avoid applying a strong feed simply because the visible leaves look poor.
Earth up and keep tubers covered
Earthing up means drawing soil around the developing stems to form a ridge. It helps cover developing tubers so light cannot turn them green, and it can provide short-term protection for young shoots. Begin when growth is sufficiently established and repeat as needed, taking soil from between the rows without scraping too close to the roots.
In containers, achieve the same cover by adding compost as growth rises. Inspect after heavy rain or watering, because settling can reveal tubers near the surface. Do not leave exposed potatoes simply because the leaves look healthy. Green potatoes are unsuitable for eating; prevent exposure rather than relying on trimming at harvest.
Water at the stages that matter
Established potatoes in the ground may cope with ordinary rainfall, but dry periods can restrict development. Check the soil rather than assuming a shower supplied enough water beneath a leafy canopy. Containers dry more quickly and need regular attention throughout active growth. Water thoroughly when required and let excess drain away.
Uneven moisture can affect quality, so a steady routine is preferable to repeated drying followed by flooding. Keep weeds under control while they are small, and avoid careless hoeing near the tubers. Feeding requirements depend on soil preparation and compost, so follow an appropriate product's instructions rather than combining several fertilisers at full strength.
Know what the foliage is telling you
Inspect for rapid browning or collapse in humid weather, particularly if nearby potatoes or tomatoes show similar symptoms. Blight is not the same as ordinary late-season yellowing. A healthy plant gradually maturing looks different from one developing spreading dark patches and rotting stems, although a photograph alone may not settle the diagnosis.
Do not compost suspect blighted tubers into material that will return to the vegetable bed. Remove forgotten potatoes after lifting where possible, because volunteer plants complicate rotation and can carry problems into another season. If the crop has persistent holes or scabby skins, record the pattern and seek a specific diagnosis before choosing next year's variety or treatment.
Harvest with a test lift
Flowering can be a useful cue for checking early potatoes, but it is not a universal harvest signal. Some varieties flower sparsely. Gently investigate beside one plant or lift a test plant to assess size. If the potatoes are too small for your purpose, leave the rest growing and check again later.
Use a fork well away from the main stem and lift carefully to avoid spearing tubers. Handle young potatoes gently because their skins rub easily. Take only what you need for immediate meals if the remaining plants are healthy and conditions permit. Do not leave lifted potatoes sitting in sunlight while you finish other jobs.
Dry and store a sound maincrop
Let mature skins develop before lifting a storage crop, and choose a dry opportunity where possible. Brush away loose soil after surface drying; washing is unnecessary for potatoes intended for storage. Separate cut, bruised or damaged tubers and use sound damaged examples promptly rather than mixing them into the long-term store.
Store healthy potatoes somewhere dark, cool, frost free and ventilated, using breathable packaging rather than a sealed wet plastic bag. Inspect periodically and remove any rotting tubers. Light encourages greening, frost damages tissue, and warmth encourages sprouting, so an unsuitable shed or sunny utility shelf can undo careful growing.
Once the bed is clear, plan what fits its remaining growing season. If you need a smaller-space root crop, see growing carrots in containers. Record planting and lifting dates before putting tools away, along with the variety and whether the crop suited your cooking and available storage.
For a useful first-year comparison, weigh the harvest from each labelled variety separately and note how much compost or bed space it occupied. Include damaged tubers in your notes, even if they cannot be eaten. A modest crop that tastes good and stores reliably may suit your household better than a larger crop of a variety you rarely use.
Keep a label inside each stored batch as well as outside it, since paper tags can fall away. When comparing varieties, note whether losses happened during growing, lifting or storage; each stage points towards a different improvement for the following season.

