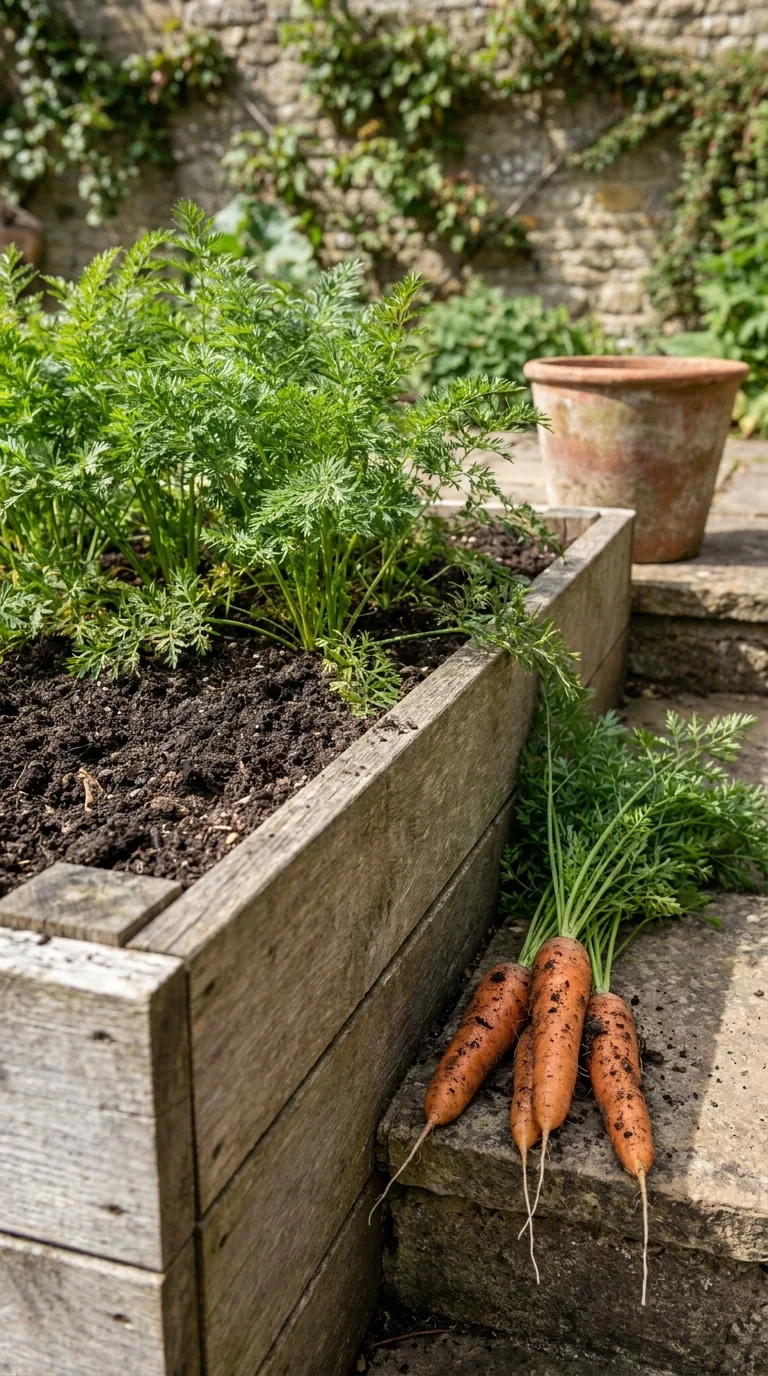
Carrots are well suited to container growing because you can provide a loose, relatively stone-free rooting medium without improving an entire vegetable bed. A pot also fits on a patio or balcony where ground growing is impossible. Success depends on matching the root shape to the usable depth, sowing directly into the final container and keeping the young crop growing steadily.
A container is not an unlimited carrot patch. Each root needs room to swell, the compost must drain, and wind can dry a pot faster than expected. Start with one broad container and a short-rooted variety. This gives you a useful small harvest while making sowing, thinning and moisture checks easier to understand.
Choose the root shape before the pot
Round carrots and short stump-rooted types are forgiving choices for smaller containers. Longer tapering carrots require much deeper compost. The photograph on a seed packet may show impressive roots, but the variety description should tell you more about their likely length and intended use. Baby harvesting allows earlier picking, although it does not remove the need for reasonable rooting depth.
If you already own a shallow trough, choose a variety that genuinely suits it rather than expecting a long carrot to bend harmlessly at the base. Distorted roots are often edible, but a poor fit reduces the reason for growing that variety. A container slightly deeper than the expected root gives a more practical margin for drainage and watering space.
| Root type | Container approach | Useful expectation |
|---|---|---|
| Round-rooted | Broad pot with adequate compost depth | Small roots rather than long kitchen carrots |
| Short stump-rooted | Medium-depth pot or deep trough | A manageable first container crop |
| Long-rooted | Deep container, allowing room below the roots | More compost and careful moisture management |
For a straightforward first setup, a pot around 30cm deep is a useful choice for many shorter types. Check the particular variety before treating that as a universal minimum. The usable compost depth will be less than the outside height once you allow a gap beneath the rim.
Make drainage work properly
Use a clean container with several unobstructed drainage holes. If it stands inside a decorative outer pot, make sure water can escape from that too. Check where excess water will run on a balcony and avoid placing a heavy wet container on furniture not intended to support it. Set the pot in its final position before filling if it will be difficult to move.
Do not assume a deep gravel layer fixes poor drainage. It takes away root space without replacing the need for drainage holes and appropriate compost. A small piece of mesh over a large hole can keep compost in place, provided it does not block water. Feet beneath the pot can help keep its base clear of a flat surface.
Choose peat-free multipurpose compost suitable for container vegetables. Break up large clumps and remove obvious woody chunks from the sowing surface. Avoid compacting the whole pot with hard pressure. Gently settling the compost and watering it before sowing creates a more even surface without producing a dense plug that fine roots must struggle through.
Find a bright, accessible position
Carrots grow best with good light. Put the container where neighbouring plants and furniture will not shade it for most of the day. On a very exposed balcony, consider the drying effect of wind as well as sunshine. A sheltered position can simplify watering, provided it still receives enough light and airflow.
Keep the pot close enough to inspect while seedlings are small. A container hidden behind larger plants can dry out unnoticed, and weeds may establish before you spot them. If using insect mesh, allow enough space around the pot to remove and replace it without brushing all the foliage every time.
Time sowing to local conditions
Carrots can be sown in small batches from spring into summer, with early and late possibilities depending on the cultivar and protection. For a beginner's outdoor container, April onwards is often simpler than trying to force a very early crop in cold compost. Use the seed packet's window and adjust for your local climate.
A late cold spring can justify waiting. Warm air on one afternoon does not mean the entire container has warmed sufficiently for reliable germination. Conversely, a pot against a warm wall may dry rapidly during an early warm spell. Check the actual growing position instead of taking a regional calendar as a measurement of its conditions.
To extend harvests, sow a second pot a few weeks after the first rather than filling many containers on one day. You can then compare establishment and spread out picking. Label each sowing date and variety; once the feathery leaves develop, separate batches can look much alike.
Sow directly and sparingly
Carrots dislike disturbance to their developing taproot, so sow in the container where they will finish growing. Transplanting a tray of seedlings into deep pots often produces poorer root shapes than direct sowing. Water the compost first, mark shallow lines or a simple grid, and sow thinly rather than tipping a thick stream from the packet.
Cover with about 1cm of fine compost, or follow the packet where it specifies a different depth. Water gently with a fine rose so you do not wash seed into a dense patch. Keep the surface consistently moist during germination. If it repeatedly dries and crusts while the root is emerging, an otherwise reasonable sowing may fail.
Carrot germination can seem slow compared with radishes. Give the batch time appropriate to temperature and seed condition before resowing directly over it. If you are uncertain, check a very small section rather than disturbing the entire pot. An impatient second sowing can create severe overcrowding when the original seeds finally appear.
Thin for roots, not just leaves
Once seedlings are large enough to distinguish, reduce crowding. Aim for roughly 5–7.5cm between plants for ordinary roots, adjusting to the variety and whether you want baby carrots. A pot full of fine green leaves can look promising while providing too little space for any root to thicken properly.
Snip unwanted seedlings at compost level with clean scissors if pulling them would disturb neighbouring roots. If you pull, do it carefully while the compost is moist. Remove the discarded foliage and replace protective mesh promptly. There is no benefit in leaving little heaps of bruised carrot leaves beside the pot.
For a 40cm-wide container, imagine a loose grid rather than rows squeezed tightly against the edge. Leave roots some space from the walls as well as each other. The exact number depends on shape and spacing, so measure the available surface instead of assuming a round pot always holds a particular number of carrots.
Water the whole root zone
Established carrots in open soil can tolerate some dryness, but containers have a limited reservoir and need more regular attention. Check below the surface with a finger and compare the pot's weight over time. The top can appear dry while the lower compost remains wet, or appear damp after a shower that barely reached the roots.
When watering is needed, apply enough to wet the compost through and allow excess to escape. Do not leave the base standing permanently in a saucer of water. Repeated small splashes favour a wet surface over a reliably moist rooting depth. A very dry peat-free mix may need water applied slowly in stages to absorb it evenly.
Sharp changes between drought and heavy watering can contribute to splitting. You cannot repair a split root by changing the routine, but you can improve conditions for the rest. Grouping containers can reduce exposure, yet avoid pushing them together so tightly that you cannot inspect or water each one properly.
Feed cautiously and weed by hand
Fresh container compost normally contains an initial nutrient supply. Carrots do not need repeated strong feeds aimed at producing enormous foliage. If the compost is old or growth indicates a possible shortage, assess watering and light first, then use an appropriate fertiliser according to its label. Do not add fresh manure to the carrot pot.
Remove weeds while small, identifying carrot seedlings carefully before pulling anything. Hand weeding is usually easiest in a container. Avoid poking deeply around the roots with a tool, and keep the compost surface level so developing shoulders do not become exposed. Add a little compost over exposed shoulders if necessary without burying the leafy growing points.
Protect against carrot fly sensibly
Carrot fly larvae can tunnel through roots and make them unusable. Raising the pot is sometimes suggested as protection, but height alone is not a reliable barrier. Fully enclosing the crop with suitable insect-proof mesh is a more dependable approach, especially where carrot fly has caused trouble previously.
Support the mesh so leaves have room to expand and seal gaps at the edges. An enclosure that is open around the rim does not exclude an insect simply because the top is covered. Inspect it after wind, watering and thinning. Keep the cover practical enough that routine care does not become a reason to leave it off for days.
Slugs may graze young seedlings, while aphids or other insects can occasionally appear on foliage. Identify actual damage before deciding on a response. A missing seedling may have been eaten, but poor germination, drying compost or accidental disturbance can produce a similar empty space. Avoid treating an unconfirmed pest problem.
Investigate poor roots without guessing
| Result | Possible contributors | Adjustment for the next batch |
|---|---|---|
| Forked or bent roots | Obstructions, restricted depth or root disturbance | Direct sow in a deeper, loose medium |
| Very thin roots | Crowding, insufficient time or weak growing conditions | Thin properly and check variety expectations |
| Split roots | Uneven moisture or leaving roots too long | Maintain steadier watering and inspect earlier |
| Brown tunnels | Possible carrot fly larvae | Use a properly closed mesh enclosure |
Several factors may occur together. For example, a shallow pot can become dry quickly and also restrict root length. Correcting only the watering may improve survival without producing straight roots. Note the pot dimensions, sowing density and moisture pattern before deciding the seed variety was at fault.
Harvest by size and condition
Use the packet's maturity information as a rough planning guide rather than a fixed appointment. Growth slows in poor conditions. Check the shoulder of one root and lift a test carrot when it appears useful. Baby carrots are a valid harvest, but repeatedly pulling every plant too early can leave little to assess later.
Water first if the compost is very dry. Hold the foliage close to the root and pull gently, loosening the compost beside it if required. Avoid yanking a handful of leaves and leaving the root behind. Harvest selectively where space allows; remaining carrots then have room to grow, although thinning at this late stage cannot undo earlier severe crowding.
Wash harvested carrots before preparing them, remove damaged material and trim foliage for short-term storage. Leave unharvested roots protected if conditions remain suitable, but remember that a container can freeze harder than garden soil. Do not assume all winter weather is harmless simply because the crop is a root vegetable.
Plan a second container crop
When the pot is empty, examine root shape and compost moisture before clearing everything away. Record which carrots fitted the depth and how many you actually used. If drainage was slow, check the holes before refilling. Rotate crops and refresh growing media appropriately rather than repeatedly adding carrot seed to tired compost.
A useful next comparison is a large fruiting vegetable in a separate container: growing courgettes in the UK explains its much greater space and feeding needs. Keep carrot pots away from the shade of a mature courgette so both crops receive conditions suited to their different shapes.
For household planning, treat a single pot as a fresh addition to meals rather than a replacement for every carrot you buy. Count the roots after thinning and compare that number with how many you normally cook. This makes the likely harvest tangible and helps you decide whether another container is worth the watering and compost it will need.
Check mesh supports as foliage rises. A cover that fitted seedlings may press against mature leaves, making thinning and harvest awkward. Increasing the enclosure height before the pot becomes crowded helps you keep protection effective without repeatedly damaging the crop during access.

