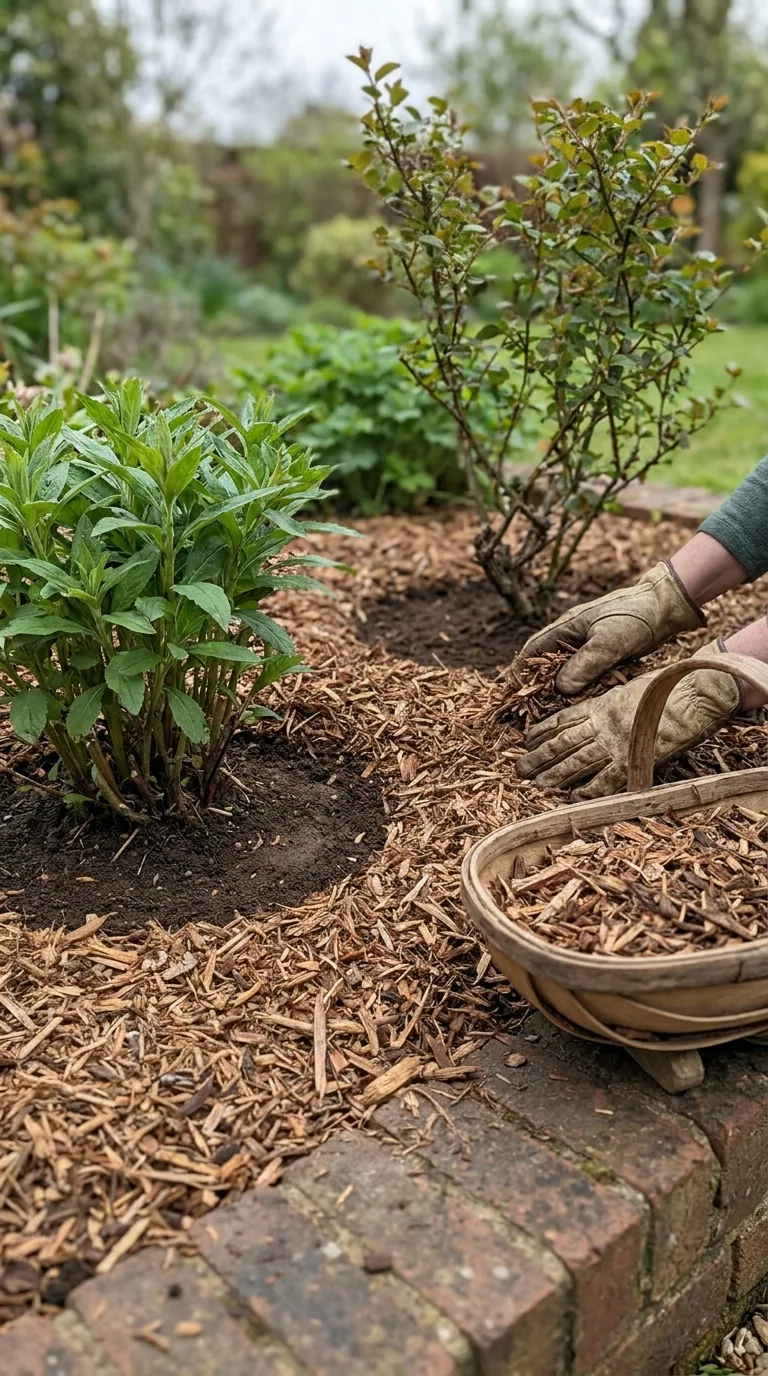
Mulching means covering the soil surface with a suitable material. In vegetable beds and flower borders, an organic mulch can reduce evaporation, limit some weed growth and gradually contribute organic matter. The operation is simple, but the preparation matters. A deep layer spread over persistent weeds, dry ground or buried plant crowns can create work rather than save it. Choose the material, check the soil and measure the area before opening the bags.
A useful mulch is part of soil care, not a replacement for every other job. Plants still need suitable drainage, establishment watering and appropriate growing conditions. Mulch does not sterilise a bed or guarantee that weeds disappear. Its practical value comes from making the surface environment easier to manage while you continue checking what is happening beneath it.
Decide what the mulch needs to do
Start with the main purpose. A vegetable grower may want moisture conservation and a surface that can be cleared for sowing. A shrub border may need a longer-lasting cover that is easy to maintain between established plants. A dry gravel planting may need a mineral surface rather than a moisture-holding organic layer around sensitive crowns. The same material is not the best answer to all three.
Consider who will work on the bed. Fine compost is straightforward to move aside for planting small modules; coarse bark can be awkward in regularly resown rows. Loose straw can blow from an exposed site. Decorative stone is difficult to remove once mixed into soil. Think through the next planting or maintenance task, not only how the bed will look immediately after application.
Compare common organic materials
| Material | Useful role | Practical limitation |
|---|---|---|
| Mature garden compost | General bed surface improvement | Variable texture and potential weed seeds if poorly made |
| Leafmould | Organic cover where a strongly fertilising input is unnecessary | Supply and decomposition stage vary |
| Composted bark | Longer-lasting cover around permanent planting | Coarse pieces complicate fine seed sowing |
| Well-rotted manure | Appropriate beds needing organic improvement | Origin, residues and nutrient loading need attention |
Use mature, suitable material rather than assuming every decomposing garden leftover is a mulch. Fresh grass can mat into a wet layer; thick piles of raw kitchen waste attract avoidable problems. Unfinished woody material is not identical to composted bark. Check the product's intended use and any limits. Where manure or imported compost has an uncertain treatment history, establish suitability before spreading it through an edible plot.
A mineral mulch such as gravel contributes a different surface treatment and does not supply organic matter in the same way. It can suit particular planting styles, but its long-term maintenance must be planned. Fallen leaves, weeds and soil can accumulate between stones. Do not combine a decorative finish with an unsuitable plant and expect the surface material alone to create the required root conditions.
Remove the weeds that will survive underneath
Pull or control persistent weeds before mulching, taking care to remove roots appropriately rather than merely snapping off the visible leaves. A thin layer of compost over couch grass or bindweed is not reliable control. Work carefully around established plant roots. If the bed is heavily infested, it may need a separate weed-management phase before new planting and a mulch can be maintained effectively.
Remove annual weeds before they set seed. Avoid shaking mature seed heads over the cleared bed while carrying them away. When the soil is suitable, lightly clearing small surface weeds may be enough, but do not disturb deep roots unnecessarily. Take a photograph after clearing if it helps you monitor whether later weeds emerged from existing roots, arrived in the material or germinated on the surface.
Do not bury rubbish, plant labels or plastic fragments beneath the layer. They will be harder to recover later and add nothing useful. Inspect purchased material before spreading the entire load. A few minutes checking the first barrow can prevent distributing a contamination problem throughout several beds. Keep supplier and batch information until you are satisfied with the material.
Check moisture and soil condition first
Push aside the existing surface cover and inspect the soil. If it is dry through the rooting layer, water appropriately before applying a new moisture-conserving cover. Mulch cannot retain water that is not present. Apply water slowly, let it soak in and check again rather than assuming that a wet-looking surface represents a thoroughly moistened bed.
If the soil is saturated, do not walk across it repeatedly with heavy loads. Wait for suitable conditions and investigate persistent waterlogging. Mulching is not a drainage installation. A very wet patch beneath an overflowing downpipe requires attention to the water source; adding more cover without solving the cause may obscure the problem and keep you from seeing how long the soil remains saturated.
Avoid applying an ordinary organic mulch to frozen soil simply to meet a scheduled gardening date. Consider the plants and the ground's condition. Spring and autumn often offer useful opportunities, but timing varies with the site and the purpose. New planting may benefit at other times if the ground is suitable and the application is managed carefully.
Choose a useful depth
For many biodegradable mulches used for general moisture conservation and weed suppression, a layer around 5 to 7.5 centimetres is a practical reference. Material, plant size and the existing layer affect the final choice. A token sprinkling may do little, while an excessive mound can smother low growth. Follow any relevant product guidance and adjust around small plants rather than applying a rigid depth over everything.
Measure what is already present before topping up. If last year's bark remains several centimetres deep, adding another full layer without checking can steadily bury crowns and raise soil against trunks. Pull the surface back in several places, inspect the boundary and replace only what is needed. Decomposing material can be replenished, but repeated blind additions are not maintenance.
Keep organic mulch away from direct contact with woody stems, tree trunks and vulnerable crowns. Leave a visible gap so that you can inspect the base and avoid persistent wet contact. Do not build a volcano-shaped mound around a tree. Roots extend beyond the trunk, so a broad, sensible cover over the surrounding soil is more useful than a tall narrow pile at the base.
Calculate the quantity before ordering
Multiply area in square metres by depth in metres to obtain cubic metres. A bed measuring 2 metres by 4 metres has an area of 8 square metres. At a depth of 0.05 metres, it requires 0.40 cubic metres, or 400 litres, before allowing for irregularities. At 7.5 centimetres, the same bed needs 600 litres. Converting centimetres correctly avoids a tenfold purchasing mistake.
For a circular planting area with a radius of 1 metre, the area is approximately 3.14 square metres before subtracting an unmulched trunk gap. A 5-centimetre layer over the full circle is about 157 litres. Use the actual area being covered rather than the size of a square enclosing the plant. For an irregular border, divide the shape into manageable rectangles and triangles and total their areas.
If bags contain 50 litres, a nominal 400-litre requirement means eight bags. The arithmetic does not account perfectly for compaction, settling or an uneven surface, so treat it as a planning estimate. When ordering bulk material, establish whether the supplier quotes litres, cubic metres or tonnes. Mass and volume are different, and wet material weighs more without necessarily covering a larger area.
Apply without damaging the bed
Place bags or barrow loads where they can be reached from paths. Distribute small piles before spreading, so that one area does not receive most of the material. Use a rake or gloved hands as appropriate and work carefully around emerging shoots. Do not drag a rake aggressively through plants merely to obtain a perfectly flat finish.
Keep the surface slightly below surrounding path edges where practical so that material does not wash or spill across walkways. Clear mulch from drains and ventilation openings. Beside buildings, preserve appropriate clearance from damp-proof details and air bricks. A tidy-looking border should not conceal a moisture or ventilation problem against the house. If existing levels are already too high, address that before adding another layer.
Once the bed is covered, inspect each plant base individually. Small perennials and low rosettes can disappear beneath a layer that looks modest between taller shrubs. Reopen clear spaces where required. Water new plants according to their actual needs and check that water reaches the rootball beneath the mulch rather than merely wetting the covering material.
Adapt the method for vegetable beds
In a bed planted with modules, mulch between plants while keeping growing points clear. For direct sowing, retain a suitable seedbed or move the mulch aside in planned rows. Tiny seeds scattered onto coarse bark will not receive the same contact as seeds sown into prepared soil. Do not bury emerging seedlings when topping up nearby spaces.
Consider crop turnover. A quick salad bed may be cleared and replanted several times, while a permanent asparagus bed has a different routine. Choose a cover that you can manage during the next operation. If mulch is moved temporarily, keep it separate from seed compost and return it carefully after plants are established enough to avoid burial. Label rows so that the crop pattern remains visible.
Check slug activity around vulnerable seedlings. Mulch can provide sheltered conditions, but stripping every bed bare is not an automatic solution. Inspect at appropriate times, protect susceptible plants and adjust material around particular problem spots. Judge actual damage rather than assuming all invertebrates in the organic layer are pests. Many are simply involved in decomposing the material.
Maintain watering access beneath the covering
Rain and irrigation can wet the mulch without fully reaching roots, particularly after a light shower. Check the soil below. A drip line needs inspection for placement and blocked emitters; hiding it under organic material does not guarantee uniform delivery. If watering by can, direct water to the root zone slowly and watch whether it soaks in or runs away.
Mulch reduces some evaporation, but it does not remove transpiration from growing leaves or make rainfall unnecessary. During a prolonged dry spell, larger plants may still need substantial water. Where the bed remains wet for too long instead, investigate garden soil drainage problems rather than assuming that more mulch will correct them. Surface care and water movement are related but different decisions.
Recognise ordinary decomposition and real problems
Organic mulch changes colour and texture as it decomposes. White fungal threads can occur as part of that process and do not automatically mean a plant disease is spreading. Look at plant health and the wider conditions before removing everything. A foul smell, obvious contamination or repeated plant damage merits closer investigation, but normal breakdown is the reason organic material eventually needs replenishment.
Weeds germinating on the surface can be removed while small. Persistent shoots returning from below need their underlying root system addressed. Do not simply bury taller weeds beneath an ever-deeper layer. Inspect after heavy rain for displaced material and after windy weather for exposed patches. Regular brief checks are easier than a full rescue when plants have been hidden or paths covered.
Plan the next season's maintenance
Record material type, measured depth and approximate quantity. Before the next application, inspect several points and compare what remains. Note where direct sowing was awkward, where water failed to reach roots or where stems needed more clearance. Those observations tell you whether the same material suits the bed again or whether a different approach would make maintenance easier.
Keep the routine proportionate. A well-prepared bed with an even, appropriate layer needs observation rather than constant disturbance. Remove weeds promptly, preserve clear plant bases and replenish only when useful. The benefit of mulching comes from a repeatable match between material, site and planting, supported by careful preparation beneath the visible finish.
If several people maintain the garden, explain the gaps around crowns and the intended final depth. Otherwise a helpful second application can undo careful work. A short note on the planting plan is enough to keep the maintenance consistent.
For small gardens, keep a reusable marked stick showing the intended depth. Check several places while spreading rather than trying to judge by eye alone. Put excess material aside for another suitable area instead of forcing the whole delivery onto one bed. Even distribution and clear crowns matter more than using every bag on the day it arrives.

