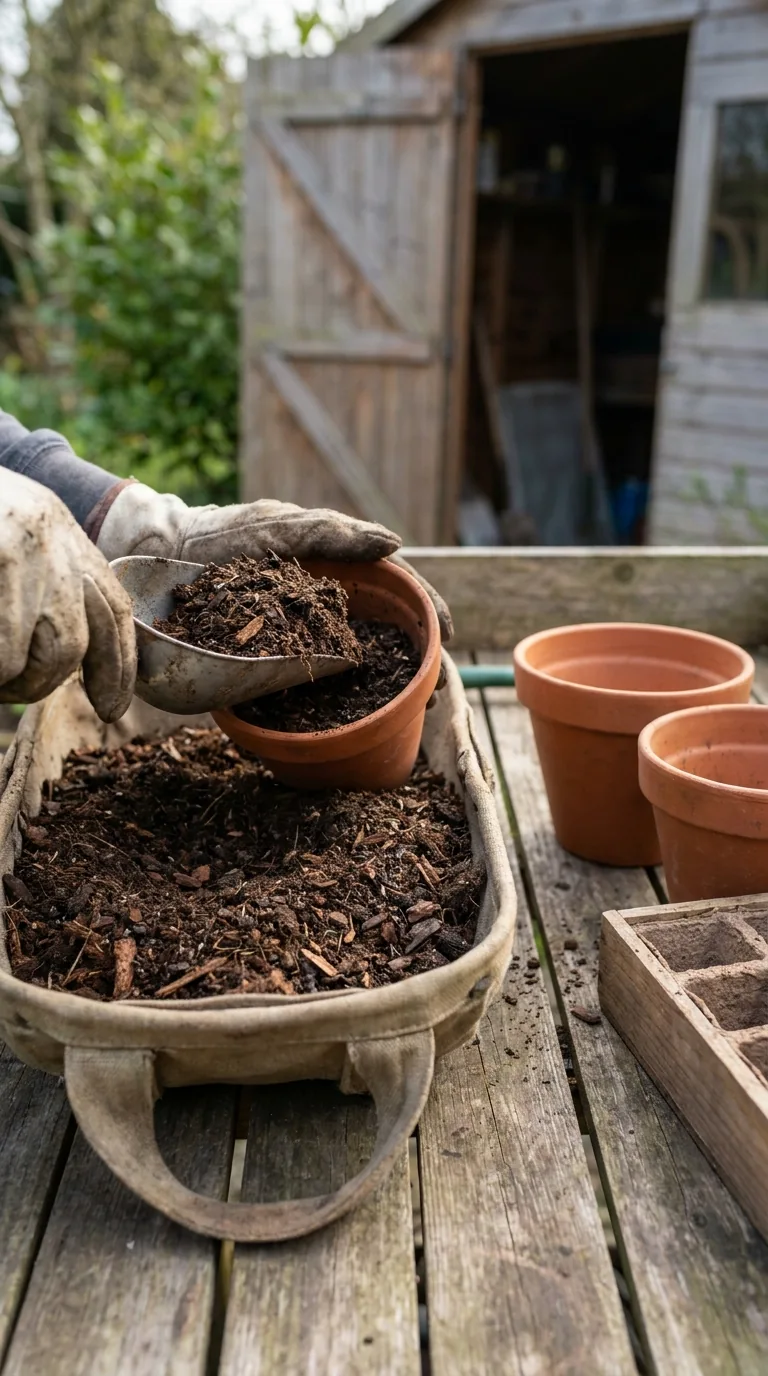
Peat-free compost is a growing medium made without peat. On a garden-centre bag, the term usually describes a seed or potting medium blended for growing plants, rather than the homemade compost used to improve a border. Its ingredients may include processed wood fibre, composted bark, coir, composted green material and mineral components. The blend, particle size and added nutrients determine how it behaves, so peat-free is a useful ingredient statement rather than a complete performance specification.
Choosing well begins with the plant and the job. A tray of fine seed, a summer tomato container and a shrub kept in a tub for years need different conditions. Ask whether the product is formulated for that use, then read its watering and feeding guidance. Repeating a routine developed for a different medium can cause trouble even when the replacement product is perfectly suitable.
Why peat-free products are used
Peatlands are important habitats and carbon stores. Extracting peat for horticulture damages those systems, which is why peat-free alternatives matter. For the gardener, the practical task is to select and manage an appropriate replacement rather than assume every brown material works identically. Avoid confusing an environmental ingredient choice with a claim that every available blend suits every plant.
Do not rely on vague wording such as eco-friendly or natural. Look for an explicit peat-free statement. A product described as reduced peat may still contain peat, and the word organic has a different meaning. Likewise, a familiar traditional compost name does not establish the current composition. Read the actual label on the bag you are buying, particularly when formulations or packaging change.
What common ingredients do
Wood fibre provides a fibrous component; bark contributes structure depending on its processing and particle size; coir is derived from coconut husk; composted green material introduces another organic component. Mineral additions and loam may also appear in particular blends. Manufacturers combine materials to obtain target properties. Seeing a few small woody particles is not, by itself, proof that a mix is defective.
The ingredient list is helpful but incomplete. Two media both containing bark and coir can behave differently if their proportions and particle grading differ. Added fertiliser, pH adjustment and wetting agents can also affect management. Avoid copying a home recipe by matching only two ingredient names from a commercial bag. That would omit the formulation and testing behind the finished product.
If you open a bag and find large plastic fragments, glass or another clear contaminant, keep the bag and batch details and contact the supplier. That is different from disliking the look of a legitimate fibre component. A photograph of the material and packaging helps describe a concern accurately. Do not distribute suspect material across multiple pots before resolving a significant quality problem.
Match the product to the plant
| Job | What to check | Common mismatch |
|---|---|---|
| Fine seed sowing | Labelled suitability for seed and a manageable texture | Using coarse border mulch as seed medium |
| Seasonal patio containers | Appropriate multi-purpose or container formulation | Assuming the starter feed lasts the whole season |
| Acid-loving plants | Suitable peat-free ericaceous product | Using ordinary multi-purpose compost regardless of pH |
| Long-term tubs | A formulation intended for sustained container use | Ignoring settling and changing nutrient needs |
Specialist plants can need specialist media. Orchids, many carnivorous plants and some houseplants should not automatically receive the same mix as bedding plants. Check the individual plant requirements. Adding gravel to an unsuitable product does not necessarily fix its chemistry or its moisture behaviour. If you are uncertain, a clearly described specialist product is easier to manage than an improvised blend assembled without a defined target.
For a mixed planting, check whether the plants actually share a usable moisture and feeding range. A moisture-demanding annual and a dry-loving herb may be an awkward combination even in a good medium. A disappointing container is not always the compost's fault. Plant choice, pot size, exposure and drainage interact with the medium, so assess the whole setup.
Understand seed compost and multi-purpose compost
Seed-sowing media are formulated for germination and young roots, often with a finer texture and restrained nutrient level. A multi-purpose product may also be suitable for many seeds if its label says so, but that does not guarantee an ideal fit for every tiny seed or specialist species. Read both the seed packet and the growing-medium label, especially for surface-sown seeds that need close contact with an even surface.
Do not over-compress a seed tray in an attempt to make a coarse mix smooth. Fill and settle it gently, remove only obvious oversized pieces where appropriate and keep air spaces in the medium. Sowing depth should follow the seed instructions. Once seedlings are ready for potting on, their needs change; using the same depleted small cell indefinitely can restrict growth regardless of the original compost quality.
For a first trial, sow a modest number of seeds in a fresh suitable product and label the tray with the product name. Keep light, temperature and watering consistent. This gives useful experience without risking the whole season's planting. Comparing several products is meaningful only if the other conditions are reasonably similar; one tray beside a heater and another in a cold porch is not a fair compost comparison.
Learn how the medium holds water
The surface of a fibrous peat-free mix can look dry while material lower down remains moist. Watering solely by surface colour can therefore leave roots too wet. Check below the surface with a finger where that will not disturb roots, and learn the weight of a small pot when watered and when approaching dryness. Use several clues rather than depending on one visual signal.
Water slowly and observe whether it wets the root zone or immediately runs down a gap at the pot's edge. A severely dried rootball may need staged rewetting. Add a little, allow it to soak, then check again. Do not leave every plant permanently standing in water because one dry pot needed help. Different species and pot sizes require different treatment, and good drainage remains essential.
A moisture meter can provide another clue but does not replace judgement. Its reading depends on contact, medium and the device's design. A probe inserted into an air gap may be misleading. If a plant wilts while the mix is still wet, check roots, drainage and heat stress before automatically adding more water. Both excessive wetness and dryness can interfere with water reaching leaves.
Make drainage part of the container design
Choose a pot with suitable drainage openings and keep them clear. A decorative outer cover with no holes needs careful management so that drained water does not collect unseen. After watering, inspect the space between the growing pot and cover. The medium cannot remain airy if the whole rootball is left immersed in a reservoir by accident.
A thick gravel layer is not a general cure for an unsuitable medium or missing holes. It removes usable root volume and does not change the properties of the material above. If a very large hole needs covering to retain medium, use a suitable small piece without blocking drainage. Select the full root-zone medium for the job rather than trying to repair it with a decorative base layer.
Container size also matters. A tiny pot dries quickly; a much larger pot holding a small root system may remain wet longer. Pot on appropriately rather than choosing the largest possible tub for every seedling. In windy or exposed positions, use a stable container and consider the weight when saturated. On balconies, structural loading and safe placement are part of planning, particularly for large permanent planters.
Feed according to the product and growth stage
Some bagged media include an initial nutrient charge, but the amount and intended duration vary. Read the label and start supplementary feeding at the appropriate point for the plant and product. A claim about weeks of feed is not a guarantee under every watering regime and growing condition. Keep a simple record rather than trying to remember when each container was planted.
Choose a feed suitable for the plant's stage and requirements. A fruiting crop, an ericaceous shrub and a foliage houseplant may need different treatment. Follow dilution rates and avoid adding extra because the medium looks woody. If growth is poor, examine light, temperature, root space and moisture before assuming fertiliser is missing. More feed cannot compensate for a continuously waterlogged rootball.
Where a manufacturer recommends a nutrient balance for its formulation, compare that information with any alternative feed rather than dismissing it automatically. Different products have different starting nutrients. Keep concentrated fertiliser away from seeds and roots except where its instructions specifically describe incorporation. For small containers, a dosage mistake can affect the whole rooting volume quickly.
A worked example for a first container trial
Imagine two 15-litre pots for the same variety of summer annual. Use the same suitable peat-free product, the same planting size and similar exposure. Fill to a practical level below the rim, water to settle and note how the pots feel once excess water has drained. Over the next week, check moisture before each watering and record the conditions. You are learning the product's behaviour in that container, not following an arbitrary daily rule.
If one pot dries much faster, investigate wind, shading, plant size and drainage before changing fertiliser. If both remain wet, reduce unnecessary watering and inspect drainage openings. When feeding becomes appropriate, apply the correct dilution consistently. This modest observation routine makes later decisions much easier than replacing the entire medium after one yellow leaf or one hot afternoon.
Buy quantities you can use and store properly
Estimate the volume from the actual containers, allowing for rootballs and watering space. A nominal 30-litre pot does not necessarily need 30 litres of fresh medium when it already contains a substantial plant. Buy enough for the planned job without creating a large surplus that remains in a torn bag for years. Compare product suitability first, then price per stated litre.
Keep unused material in its original bag, closed and protected according to the manufacturer's storage guidance. Label the opening date if that helps you use older stock first. Store bags away from contamination and do not leave them where standing water can enter. Freshness matters because organic ingredients and added nutrients can change during storage; a long-forgotten bag may not perform like a new one.
When opening and handling bagged material, work in a ventilated area, avoid inhaling dust and wash hands afterwards. Dampen very dry material gently if appropriate rather than shaking a dusty bag indoors. Use sensible lifting techniques or move smaller amounts. A large bag's convenience is less useful if getting it to the potting bench risks injury.
Reuse thoughtfully rather than automatically
Used container medium may have value, but its next use depends on condition, previous plants and disease history. Remove old roots and debris where appropriate. Do not assume that adding fertiliser alone restores the original structure. Material from a diseased crop should not be spread through healthy pots without suitable guidance. For high-value propagation or a sensitive planting, fresh appropriate medium offers more predictable conditions.
Sound spent medium can often contribute to soil-improvement work, but use it with judgement and avoid introducing pests or unwanted seeds. If you are planning surface care rather than filling another pot, consider how to mulch a garden bed and choose a suitable material and depth for that job. Reuse is most successful when the new purpose fits what the material has become.
Troubleshoot the whole growing setup
For dry pots, check actual wetting, root congestion, exposure and watering delivery. For wet pots, inspect drainage, container size and watering frequency. For poor growth, check light, temperature, plant requirements and feed timing. Record the product and batch if several containers show an unexplained consistent problem. An evidence-based description gives a supplier something useful to investigate and helps you avoid blaming or replacing a medium unnecessarily.
With the right product and a short period of observation, peat-free growing becomes an ordinary management task. Learn the moisture behaviour of the mix you have, keep its instructions and match care to the plant. The aim is a healthy root environment throughout the season, supported by decisions you can repeat reliably.

