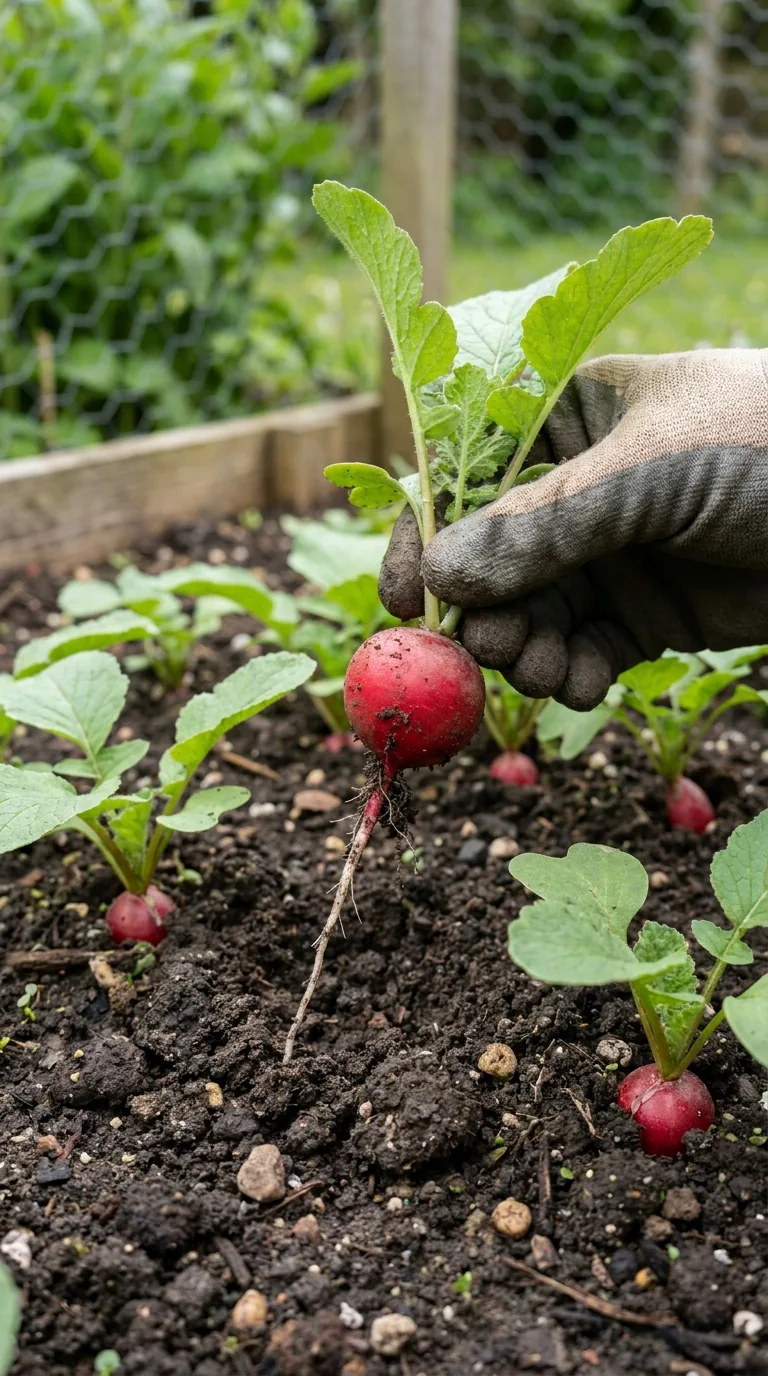
Radishes are a useful first seed crop because many salad varieties develop quickly enough to show the effect of spacing, watering and harvest timing within a short period. They are not completely effortless. A thick sowing in dry compost can produce plenty of leaves and very little worth eating, while a ripe batch left too long may become woody or hollow.
The most reliable approach is a small sowing in suitable weather, followed by thinning and regular moisture checks. Repeat with another small batch once you can see how the first is progressing. Different radish types need different seasonal treatment, so start by deciding whether you want quick salad roots, larger winter roots or edible seed pods.
Know which radish you are growing
Small round or elongated salad radishes are usually picked young and eaten fresh. Winter and oriental types often make larger roots and may require more space, depth and growing time. Edible-podded radishes are grown for their immature seed pods rather than a swollen root. These are distinct harvest plans, even when the packets all sit on the same shop rack.
| Type | Main use | Planning difference |
|---|---|---|
| Salad radish | Young crisp roots | Small repeat sowings in cooler growing periods |
| Winter or oriental root | Larger roots for later use | Follow its seasonal window and allow more space |
| Edible-podded | Tender young seed pods | Allow flowering and provide support where needed |
For a beginner's pot or short row, choose a salad variety described as suitable for the season. White, red and mixed-colour roots provide variety, but root colour is less important than sowing suitability. Do not assume a packet labelled fast will perform equally well in a July heatwave and a cool spring.
Choose useful sowing periods
Salad radishes generally do best in spring, early summer and late summer, when conditions are not excessively hot and dry. Exact windows depend on cultivar and location. Early protected sowing can work in pre-warmed soil under a cloche, but a beginner need not begin with the most weather-sensitive opportunity.
During a hot spell, postpone sowing briefly or use a cooler position with light shade if the variety suits it. Heat and water stress can encourage bolting and poorer root quality. Keeping the packet's maximum sowing month in mind does not replace checking the actual weather.
Winter and oriental varieties often have particular summer or late-summer sowing windows. Follow their instructions carefully, because an unsuitable early sowing may flower instead of making the intended root. Larger roots also need sufficient growing time before cold weather slows development, especially in northern or exposed gardens.
Prepare a small fine seedbed
Choose an open area with reasonable light and soil that drains but retains moisture. Remove weeds and large stones, then rake a manageable surface rather than preparing a whole bed unnecessarily. A short row is easier to water and inspect than seed scattered widely between mature plants.
Radishes can fit between slower-growing crops if the light and access remain suitable until harvest. Leave enough separation that lifting the radishes will not damage neighbouring roots. Do not sow them under a canopy that will close over the row before the roots develop.
Use well-prepared soil rather than adding strong fertiliser in an effort to force speed. Excessively lush leaves do not guarantee a swollen root. If the bed has recently grown brassicas, consider rotation and any history of disease, because radishes belong to the same plant family.
Set up a container sensibly
Short-rooted salad radishes grow well in containers with drainage holes and peat-free multipurpose compost. A substantial pot around 30cm wide and deep is a useful starting choice, although the root shape and planting density affect what fits. Long-rooted varieties require significantly greater usable depth.
Leave room beneath the rim for watering, and place the pot where you can check it easily. A sunny, sheltered position is useful in cooler weather; in summer, an exposed dark pot can become hot and dry quickly. Ensure excess water can escape rather than collecting in a decorative outer container.
Break up the compost surface so seed is covered evenly. Avoid pressing the whole pot into a dense block. Water before sowing if the compost is dry, then allow excess to drain. This gives seeds a more consistent starting environment than sowing into dust and trying to soak it afterwards.
Sow thinly at the right depth
For many salad varieties, sow around 1cm deep with approximately 2.5–5cm between seeds and 15cm between rows. Use the packet if its instructions differ. The small seeds are easier to space when poured into your hand first rather than tipped straight from a wide packet opening.
Cover lightly and water with a fine rose. Mark the variety and date at the end of the row. Germination is often visible within roughly a week or slightly longer in suitable conditions, but cool soil, old seed and irregular moisture can delay or reduce it.
Keep the seedbed moist during establishment. A surface that repeatedly dries can prevent a uniform crop even when deeper soil holds moisture. Check gently rather than scraping through the whole row to see whether roots have emerged. Disturbance can damage seedlings at their most vulnerable stage.
Make succession sowing practical
A small new sowing every couple of weeks is a useful starting pattern during favourable conditions. Adjust by watching the previous batch and your household's appetite. If the first row matures much faster than expected, reduce the next batch; if cold weather slows everything, allow a longer gap.
| Example batch | Action | What to observe |
|---|---|---|
| First short row | Sow a modest quantity in suitable spring conditions | Emergence and moisture needs |
| Second row | Sow around two weeks later if conditions remain suitable | Whether harvests overlap too heavily |
| Third batch | Adjust quantity and timing from results | Heat, appetite and available space |
This is a worked planning example, not a guaranteed timetable. A later batch may catch an earlier one in warmer weather, and a cold spell may delay both. Recording actual first harvest dates helps you improve the sequence more than copying a promised number of days from another garden.
Thin before crowding becomes permanent
If seedlings emerge too close together, thin while small. Leave the spacing suited to the root size you want and the variety's guidance. A dense green line may look successful, but roots competing almost shoulder to shoulder often fail to swell usefully.
Water first if the soil is dry and remove excess seedlings gently, or snip them at surface level to avoid disturbing neighbouring roots. Do not assume you can transplant every spare seedling and obtain the same root shape. Direct sowing into the final position is the simpler approach.
For a small pot, think in terms of individual growing spaces rather than an arbitrary number of handfuls of seed. Marking a loose grid can help. Leave some room near the wall as well as between plants, and inspect whether the centre of the pot receives water as evenly as the edge.
Keep moisture steady while roots swell
Radishes need reasonably consistent moisture for rapid, tender growth. Check the soil or compost below the surface, not just the leaves. Container crops can dry quickly in wind even when the air is cool. Water thoroughly when needed, allowing excess to drain away.
Repeated small splashes may keep the top damp without wetting the rooting depth. Conversely, constant saturation deprives roots of suitable conditions. Learn the weight and feel of the container after watering, then compare it over the following days. This is more reliable than assuming every pot needs the same daily cupful.
Large moisture changes can contribute to splitting. An already split root will not heal into a perfect one, so harvest usable roots and improve consistency for the next batch. If growth has stalled after drought, waiting indefinitely may produce tougher roots rather than restoring the tender quality you wanted.
Understand leaves without swollen roots
Radishes naturally make leaves first. If they remain leafy without forming the expected root, consider crowding, inadequate light, unsuitable timing and excessive nitrogen as possible contributors. Check whether you sowed a pod variety before diagnosing a problem: its intended harvest is different.
Do not respond by adding several feeds at once. Measure spacing, inspect sunlight through the day and examine a sample plant. If the crop is badly crowded, thin it, but recognise that very late thinning may not recover the entire batch. A correctly spaced new sowing may be a better use of the remaining season.
Bolting produces an elongated flowering stem. For a root crop, it usually means eating quality is declining and the original plan has been interrupted. Removing the stalk does not reliably return the root to a young tender state. Learn from timing and conditions, then start another suitable batch.
Watch for flea beetle and root damage
Small holes in leaves may indicate flea beetle feeding, especially on young brassicas in warm dry conditions. Inspect the plants and look for the insects rather than identifying them from holes alone. Healthy larger plants may tolerate some feeding, while severe damage to tiny seedlings matters more.
Suitable insect-proof mesh installed before pests arrive can protect a crop if edges are closed and the material leaves room for growth. A loose cover with large gaps is not an exclusion barrier. Check moisture beneath it, because protection should not lead to forgetting irrigation or creating an overly hot enclosure.
Slugs and other organisms can also damage seedlings or roots. Brown marks, tunnels and nibbled surfaces require closer inspection. Avoid applying a treatment on the assumption that every hole has the same cause. If poor roots recur in the same bed, note the previous crops and consider a different clean growing position.
Use a troubleshooting sequence
| Problem | Useful checks | Next adjustment |
|---|---|---|
| Woody or hollow roots | Age at harvest and periods of slow growth | Harvest earlier and keep growth steady |
| Split roots | Changes between dry and wet conditions | Improve moisture consistency |
| Leaves but little root | Spacing, light, type and nutrition | Correct the cause before resowing |
| Early flowering | Season, heat and cultivar suitability | Choose a better sowing window |
These are investigation prompts rather than diagnoses. More than one factor may apply: a crowded pot may also dry quickly, and a hot shaded corner can still provide inadequate useful light. Change the strongest likely cause first and compare the next small batch instead of making several unrecorded changes together.
Harvest a sample instead of waiting blindly
Check the root's shoulder as the expected harvest period approaches, then pull one when it looks useful. Taste a sound sample and compare texture before leaving the rest. Many salad radishes are ready within several weeks in good conditions, but a packet's timing assumes active growth and should not be treated as an exact deadline.
Pull gently from the base of the leaves, loosening the soil if necessary. Harvest the batch over a short period while quality remains good. Larger winter types follow their own maturity guidance and should not be judged by the size of a quick salad radish.
Wash roots before preparing them and remove damaged material. Trim leaves for short-term storage so they do not draw moisture from the roots. Use the harvest promptly for the best texture rather than leaving a bowl of untrimmed radishes in a warm kitchen for days.
Review the next small sowing
Record the variety, sowing date, thinning distance and first useful harvest. Note whether the batch was too large for your meals and whether heat or irregular watering affected quality. A successful succession is one you can eat at the right stage, not the largest number of plants you can fit into a pot.
For a longer-season crop that requires a different watering and support routine, see growing tomatoes in the UK. Keep the quick radish crop in a position where it can finish before a tomato canopy casts too much shade, and avoid disturbing the larger plant's roots at harvest.
After removing a finished batch, check whether the compost remains level and drains freely before sowing again. Repeated watering can settle the surface. Refresh the growing space appropriately and keep each new batch labelled, so a later improvement can be connected with the change you actually made.

