A useful vegetable garden layout puts sunlight, water and access ahead of the number of beds. The aim is to make sowing, watering and harvesting easy enough that the plot remains manageable through the growing season. A crowded plan may appear productive on paper but can become difficult to weed, shade neighbouring crops and leave no room to turn with a watering can.
Begin with a measured sketch and a short crop list. Choose vegetables you want to eat and can look after, then give them realistic mature spacing. You can add complexity later. A small accessible layout with healthy plants is more useful than an ambitious arrangement that depends on constant pruning, moving pots and stepping over supports.
Observe the site before drawing beds
Note sunlight in the morning, around midday and later in the afternoon. Repeat observations as the season changes if possible. Walls, fences and deciduous trees can alter the usable light considerably. A patch sunny in early spring may be shaded when summer fruiting crops need it most. Mark major shade patterns on the sketch instead of treating the whole garden as equally bright.
Wind matters too. An exposed corner can dry seedlings, rock tall crops and make temporary covers difficult to secure. Shelter can help, but a dense high barrier may produce substantial shade or turbulence. Observe the actual effect of existing fences and hedges before adding more. Leave room for supports and protection where they can be installed without blocking the main path.
Watch water after rain. Identify hollows, runoff routes and areas that remain saturated. A raised frame can define soil but does not automatically solve a drainage problem. Keep beds clear of inspection covers and avoid directing water towards buildings. Check known services before digging substantial posts or bases, and obtain appropriate advice where site history raises contamination concerns.
Draw fixed features first
Measure the overall area and add doors, gates, taps, drains, trees and permanent paths. These are the constraints around which the growing plan must work. Mark the direction a gate swings and the space needed to move bins or garden equipment. It is easy to draw a productive bed where a wheelbarrow needs to turn, but difficult to use the garden once that bed is planted.
Choose a simple scale, such as one centimetre on paper representing half a metre outdoors. Write actual dimensions beside the drawing so a later printing change does not cause confusion. If using a digital plan, keep the labels visible and do not rely only on visual proportions. A neat diagram with no measurements is an illustration rather than a construction plan.
Mark the water source and the route a hose or watering can will follow. Containers and newly planted beds may need frequent checks in warm weather, so distance matters. A bed near the tap can be more practical than a slightly sunnier position that is difficult to reach. Keep hose routes away from unavoidable trip hazards and places where doors pinch them.
Size beds for the person using them
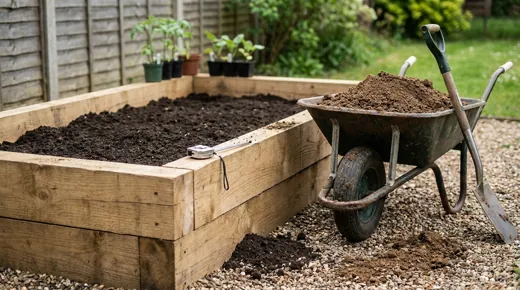
Bed width should allow you to reach the centre without standing on the growing soil. Around 1.2 metres is a common upper starting point for a bed accessed from both sides, but your reach may call for less. Beds against a wall need to be narrower because only one side is available. Mark widths outdoors and test them from the actual working position.
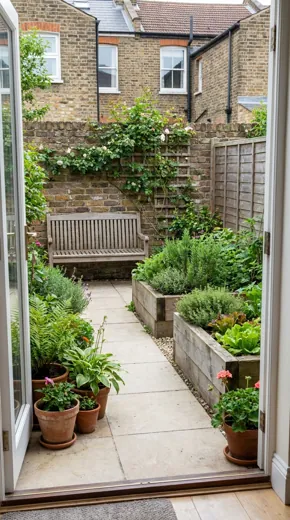
Paths need enough room for people and equipment. A narrow gap may allow walking while making kneeling, turning or wheelbarrow use awkward. Where mobility aids are used, test the layout with them and allow for turning, gradients and comfortable approach. Generic dimensions cannot establish individual accessibility. A broad useful path is not wasted space; it enables the beds to be maintained.
| Decision | Question to answer | Common mistake |
|---|---|---|
| Main access | Can you enter, turn and carry supplies? | Drawing beds across everyday routes |
| Bed width | Can the centre be reached comfortably? | Assuming everyone has the same reach |
| Water access | Can thirsty crops be checked easily? | Scattering containers far from water |
| Tall crop zone | Where will shade and supports fall? | Putting beans in front of lower crops |
| Seasonal use | When does each space become available? | Planning several simultaneous crops for one place |
Length is less restrictive than width, but long uninterrupted beds create detours. Cross paths can improve access in a larger patch. Keep temporary pots off the route even when their stay is supposed to be brief. The main path should remain usable when plants are at full size, not only when the ground is bare.
Place tall crops with shade in mind
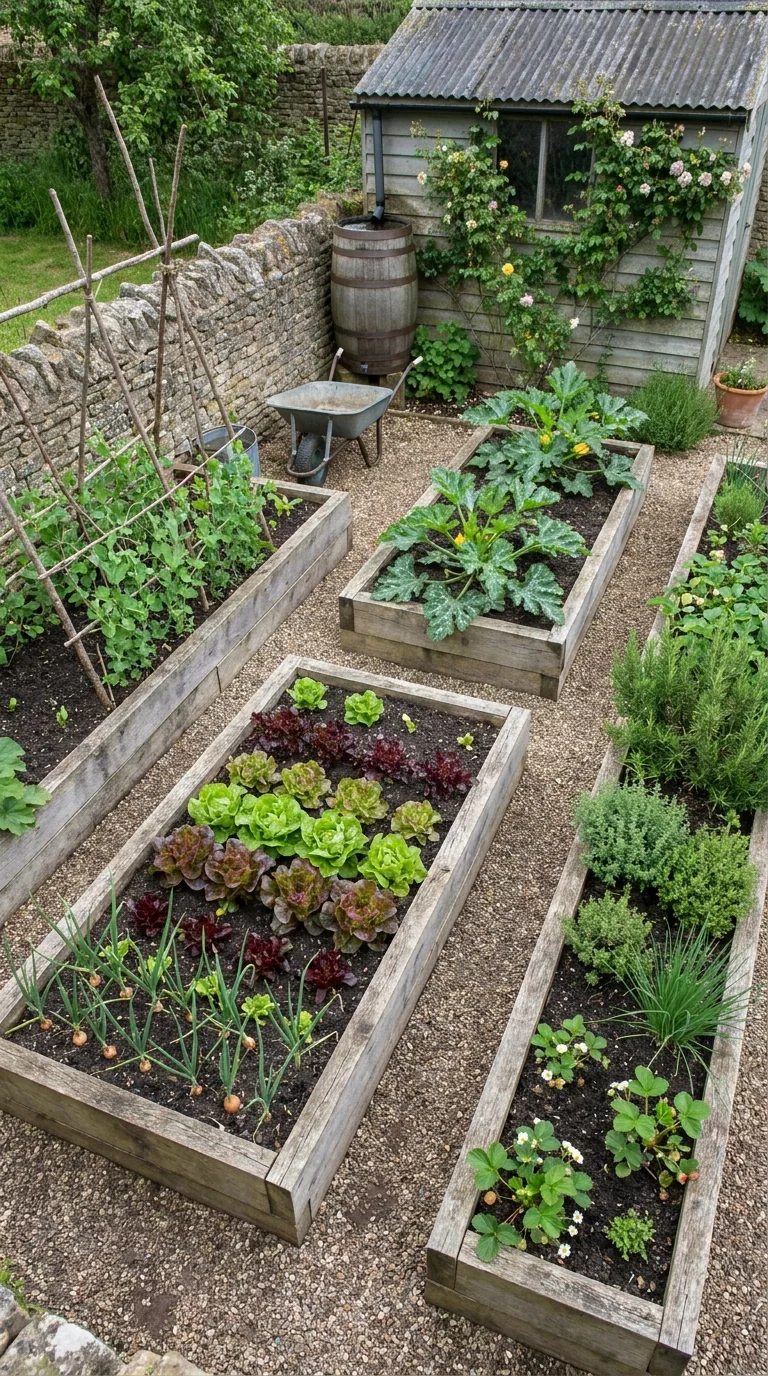
Supports for climbing beans, tall peas and cordon tomatoes should be positioned deliberately. On an open UK plot, locating tall crops towards the northern side can reduce shading of lower crops to their south. This is a useful principle, not an absolute rule: nearby buildings, slope and the shape of the garden may make another arrangement more suitable.
Allow working space around the support. A bean wigwam may occupy little ground at its base but spread much wider with leaves. You need to reach pods and inspect ties without leaning through the crop. Secure supports before plants become large, and consider wind exposure. A tall structure should not be placed where it could fall across an important access route.
Do not assume trellising makes plant size disappear. Vertical growth still produces shade and uses water and nutrients. A narrow bed can support a climbing crop only if the root zone, support and access are adequate. Keep tall containers stable, and check loading limits before arranging heavy pots on balconies or raised decks.
A worked small-plot layout
Imagine an open-ground rectangle measuring four metres east to west and five metres north to south. One possible arrangement uses two beds each 1.1 metres wide and 3.6 metres long, running north to south, with a central path and access around the outer edges. This is a hypothetical planning example. The final widths must be adjusted to the user, equipment and actual fixed features.
Across the four-metre width, two 1.1-metre beds use 2.2 metres. A central path of 0.8 metres leaves one metre, which could be shared between outer access strips. Along the five-metre length, 3.6-metre beds leave 1.4 metres for end access. These dimensions fit arithmetically, but a person needing broader outer paths should reduce bed width or use a different arrangement.
Place a modest tall-crop support at the northern end of one bed and use lower crops farther south. Keep the second bed flexible for salads, roots or follow-on crops. The diagram does not allocate exact plant quantities because those depend on chosen cultivars and spacing. Mark mature plant outlines on a second sketch before buying seed or young plants.
Allocate crops by mature size and use
Begin with the vegetables you regularly eat. A large patch of an unfamiliar crop is not productive if it is never harvested. Leafy salads and herbs can provide repeated small pickings, while a courgette occupies a substantial area even though it is only one plant. Potatoes and onions may be worthwhile, but their space and harvest pattern differ from cut-and-come-again leaves.
Use packet spacing to estimate capacity. A bed length of three metres does not imply ten plants of every crop. If a crop requires 30-centimetre spacing, a row might hold around ten plants with suitable end margins. At 60 centimetres, it holds far fewer. Leave the appropriate distance between rows as well as within them; ignoring one dimension overestimates the bed’s capacity.
Plan a small reserve area for seedlings awaiting planting and harvested space awaiting a follow-on crop. Without it, temporary pots often accumulate on paths. You do not need to fill every gap immediately. Open space can make weeding, watering and observing young plants easier, especially during the first season.
Use succession as a calendar exercise
Succession planting means arranging crops so another uses space when an earlier crop finishes. It requires an estimate of harvest timing and enough lead time to raise the replacement. A spring salad patch might be followed by an appropriate later crop, but the second crop must suit the remaining season and local conditions. Do not assume every empty bed in August can start a long-season summer vegetable.
Make a simple table with each bed section, its first crop, expected clearing period and possible follow-on. Include a fallback if the first crop runs late. Weather can delay growth, and an “early” crop does not always vacate the bed on the date you planned. Keep later seedlings manageable rather than letting them become root-bound while waiting for a perfect schedule.
Small regular sowings can be more useful than a large simultaneous sowing. For salads or radishes, a short row every few weeks may spread harvests, depending on variety and season. Record actual results and adjust intervals. A timetable should reduce gluts and empty periods, not become a rigid instruction that ignores heat, drought or the plants already growing.
Understand rotation without making the plan impossible
Crop rotation can help organise families and reduce repeated pressure from some soil-borne problems. In a very small garden, a strict multi-year rotation may be difficult because plants are close together and some permanent crops stay in place. Keep sensible records of what grew where, avoid unnecessary repetition of the same family in the same patch and respond to any confirmed disease issue specifically.
Do not treat rotation as a guarantee that pests and diseases cannot occur. Airborne problems, mobile insects and contaminated planting material can still affect a rotated plot. Healthy soil, suitable spacing, watering and prompt diagnosis remain important. Equally, do not abandon useful vegetables simply because a tiny garden cannot reproduce an allotment’s four-bed system exactly.
Permanent herbs and fruit plants deserve their own locations so they do not obstruct annual bed changes. Place vigorous plants where their roots and shade will not dominate smaller crops. If the plot is too small for all desired plants, containers can add flexibility, but they create another watering system rather than free space without cost.
Test the layout before building
Use string, canes or temporary markers to outline beds and paths. Walk the route with the equipment you expect to use. Try reaching into the beds and imagine supports at full height. Check the view from a seat and from the house if appearance matters. A layout can be practical and attractive, but it should be tested at real scale.
Adjust the design before ordering frames or soil. A ten-centimetre change in path width may make movement noticeably easier, while the loss of growing area is small. Make drainage, tap and gate access non-negotiable features. If the available area remains too awkward, the guide to small-space garden layouts explores containers and vertical growing without assuming a conventional bed system.
Keep the first year flexible. Record where shade falls, which crops need more space and which routes become congested. The best layout is not the one with the most rectangles; it is the one you can work comfortably while plants receive the light, root space and care they need. Improve it from observed use rather than redesigning everything after one imperfect harvest.
Keep a maintenance route on the drawing
Annotate the sketch with the tasks that happen repeatedly: carrying water, bringing in compost, removing spent crops and reaching supports. If all four require moving a container, that container is in the wrong place. Include somewhere to put a bucket while harvesting and a clear position for temporarily setting down tools. These small allowances reduce bending and prevent tools from disappearing beneath leaves.
Also mark the widest seasonal outline of each crop. A tomato planted clear of the path may later project into it, while broad bean supports and protective covers add width beyond the original planting row. Walk the route again when crops are mature and update the plan. This turns the layout into a record of actual use rather than a drawing that describes only empty beds in winter.